10 Rainbow Coloring Techniques For Easy Coloring
xuanthai
10:14 | 19/06/2025

Creating eye-catching, vibrant artwork using rainbow coloring techniques doesn't have to be complex. Whether you're a beginner looking for fun methods or an experienced artist aiming for polished results, these techniques will elevate your coloring game. This guide of The Nook Art walks you through ten of the most effective methods for rainbow blending, each tailored for various tools and mediums. The goal? Stunning, seamless rainbow transitions that dazzle every time.
Crayon Blending with Tissue or Cotton
A popular and accessible method among rainbow coloring techniques involves using simple crayons and a piece of tissue or cotton. Start by coloring bands of the rainbow next to each other using heavy pressure for full pigment. Next, use a clean tissue or cotton ball to gently rub the transition areas where colors meet. The friction helps soften the edges and create smoother transitions, enhancing the rainbow effect.
This method is perfect for younger colorists or those working with limited tools. It gives surprising control over blending without needing solvents or high-end materials. As you rub the crayon wax, it warms slightly, allowing better merging of pigments. Among rainbow coloring techniques, this one proves that simplicity can still deliver bold and beautiful results.
READ MORE:
=>>> What is A Coloring Book? Basic Descriptions You Need to Know
=>>> Coloring Tips And Tricks: Standard Coloring Technique
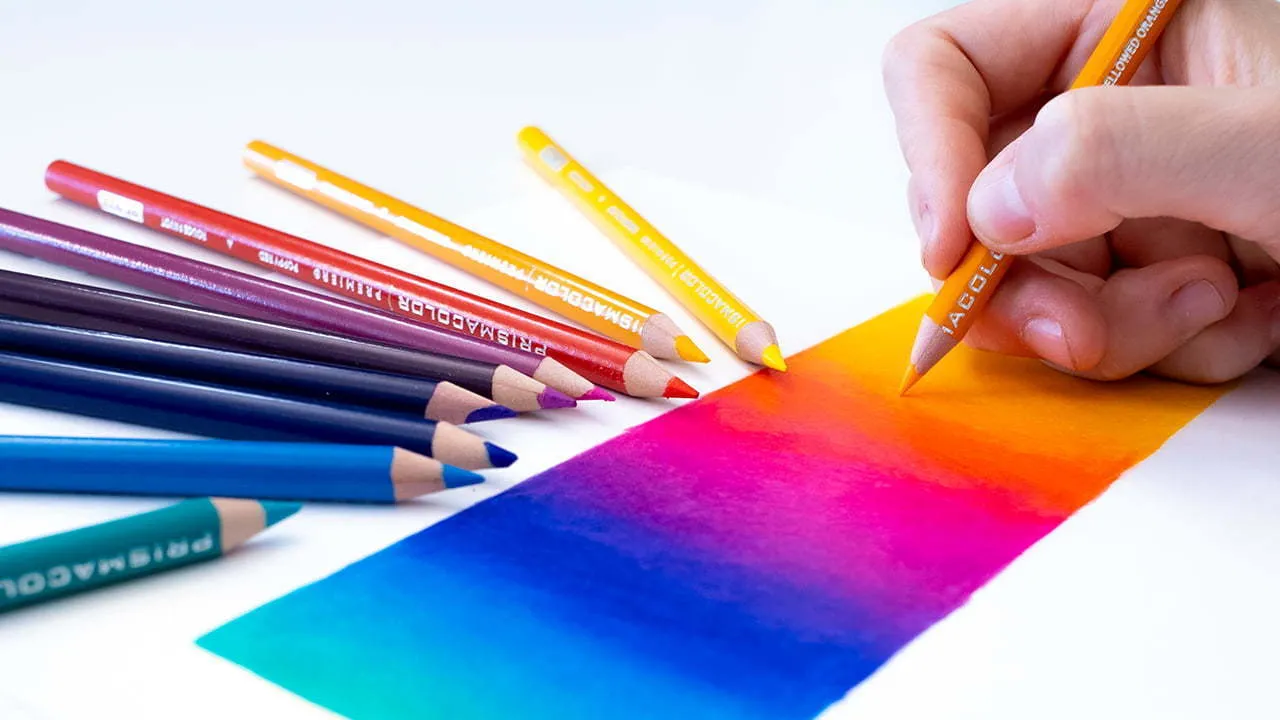
Baby Oil or Solvent Burnishing
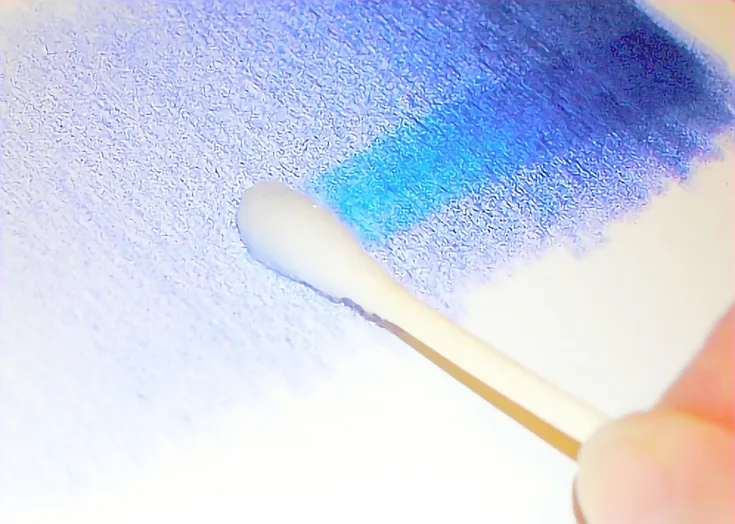
One of the most effective rainbow coloring techniques for smooth blending involves using baby oil or artist-grade solvents with wax-based colored pencils. Begin by applying your rainbow stripes in layers, building up rich pigment in each band. Ensure that the pencil strokes follow the direction of your desired gradient to make blending easier. Once the base is laid, dip a cotton swab, blending stump, or even a soft brush into baby oil, and gently massage the colored areas.
The baby oil acts by dissolving the wax binder in the pencil, which softens the texture and allows the pigments to merge flawlessly, creating painterly gradients. This method is particularly effective in achieving glassy, smooth transitions between rainbow colors without harsh lines. It’s also beneficial for emphasizing color saturation and depth, making each shade more luminous. Among rainbow coloring techniques, baby oil burnishing stands out for its accessibility, effectiveness, and ability to produce professional-level results with household items.
Heat Techniques (Blow Dryer)
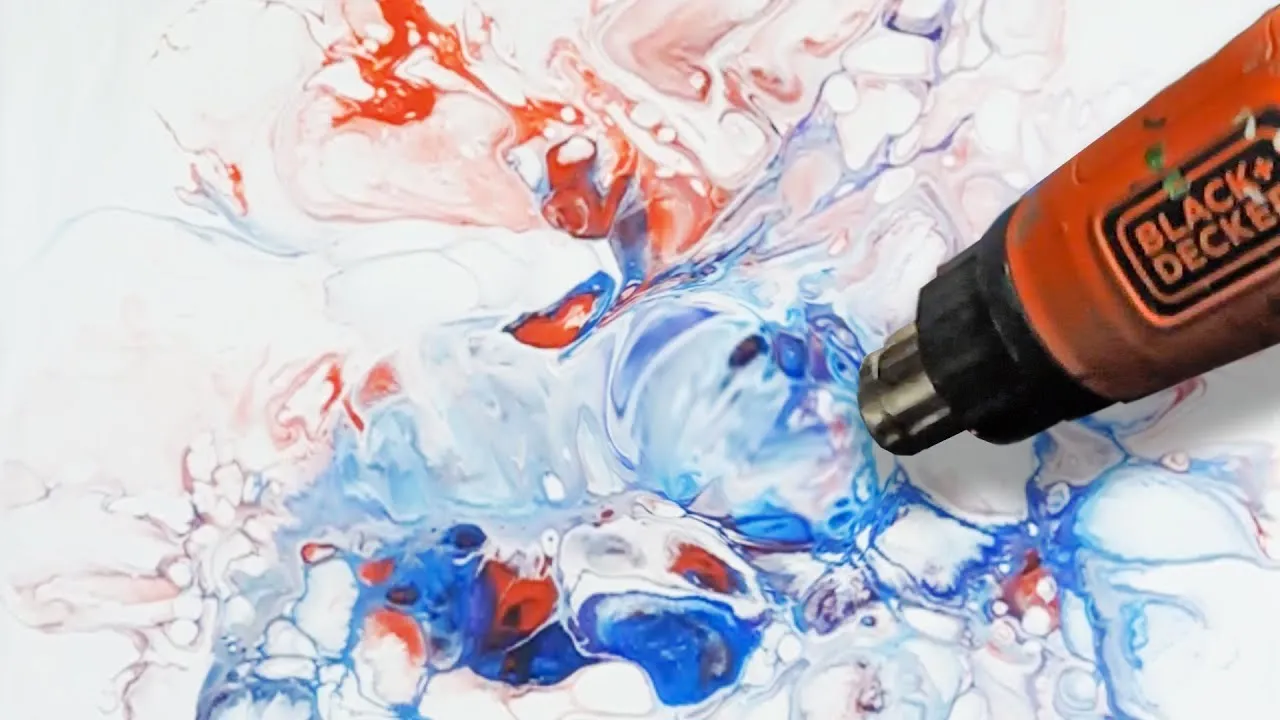
Using heat to enhance blending is one of the lesser-known but highly effective rainbow coloring techniques, offering a surprising level of control for both beginners and professionals. To begin, apply a generous layer of crayon or colored pencil, ensuring that each color band in your rainbow slightly overlaps the next. Once the base is complete, turn on a blow dryer to a low or medium heat setting and hold it a few inches from your work. Move the dryer in slow, circular motions to evenly warm the area without warping the paper.
As the heat activates the wax or binder in your coloring medium, the pigments soften and become more pliable. Use a cotton swab, blending stump, or even your fingertip to gently smear and merge the boundaries between each color. This creates beautiful, buttery blends that mimic natural gradients found in light and sky. This method is especially useful when working with textured paper or thick pigment applications. Among all rainbow coloring techniques, heat blending provides a tactile, sensory experience and allows for a customized level of smoothness depending on how long you apply heat.
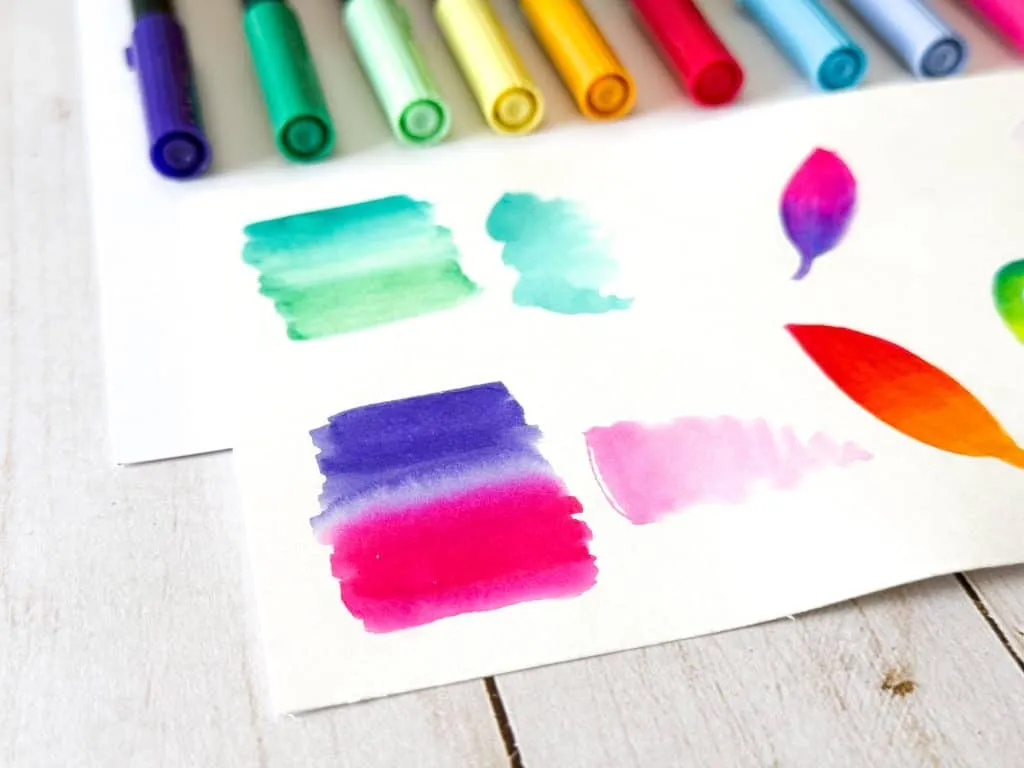
Rubbing Alcohol for Wax Inks
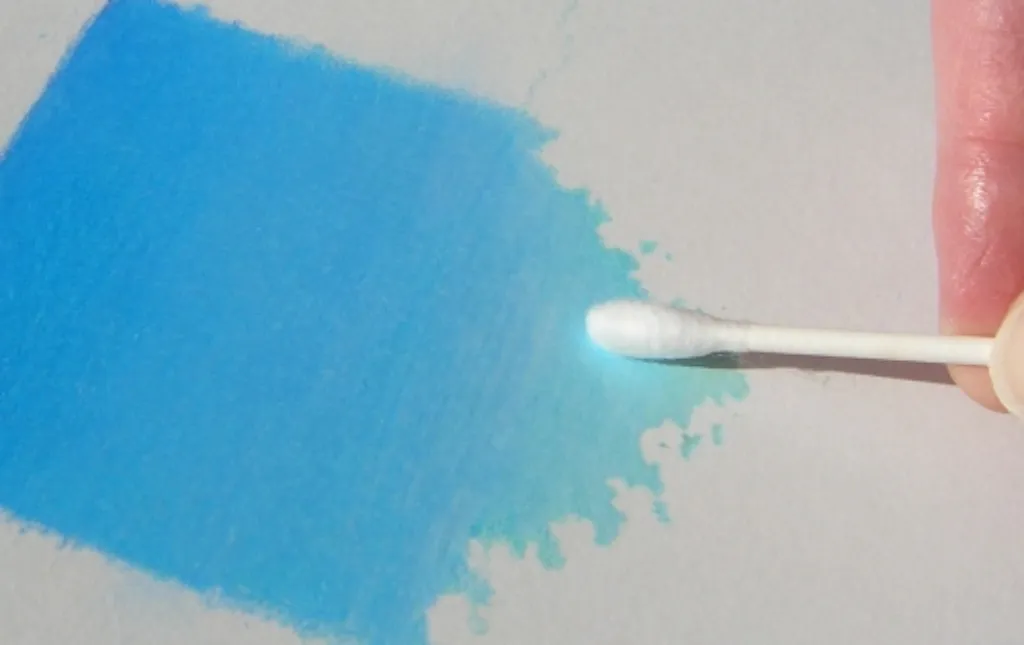
If you're working with alcohol-based markers or wax ink pens, rubbing alcohol is a transformative tool among rainbow coloring techniques. Start by layering your rainbow colors side by side with slight overlaps for natural blending opportunities. Then, dip a clean cotton swab, fine brush, or blending stump into isopropyl alcohol and gently apply it along the color borders. The alcohol breaks down the pigment binders, allowing the ink to spread and feather into adjacent colors with soft, fluid edges.
This process produces smooth, watercolor-like transitions and a polished, professional appearance that enhances the dynamic nature of rainbow hues. Because rubbing alcohol evaporates quickly, it allows artists to build up layers of color without over-saturating the paper. You can experiment with varying amounts of alcohol to control the intensity of blending, or even splatter it for unique texture effects. Among all rainbow coloring techniques, this one offers remarkable flexibility, precision, and color vibrancy ideal for detailed and layered artwork.
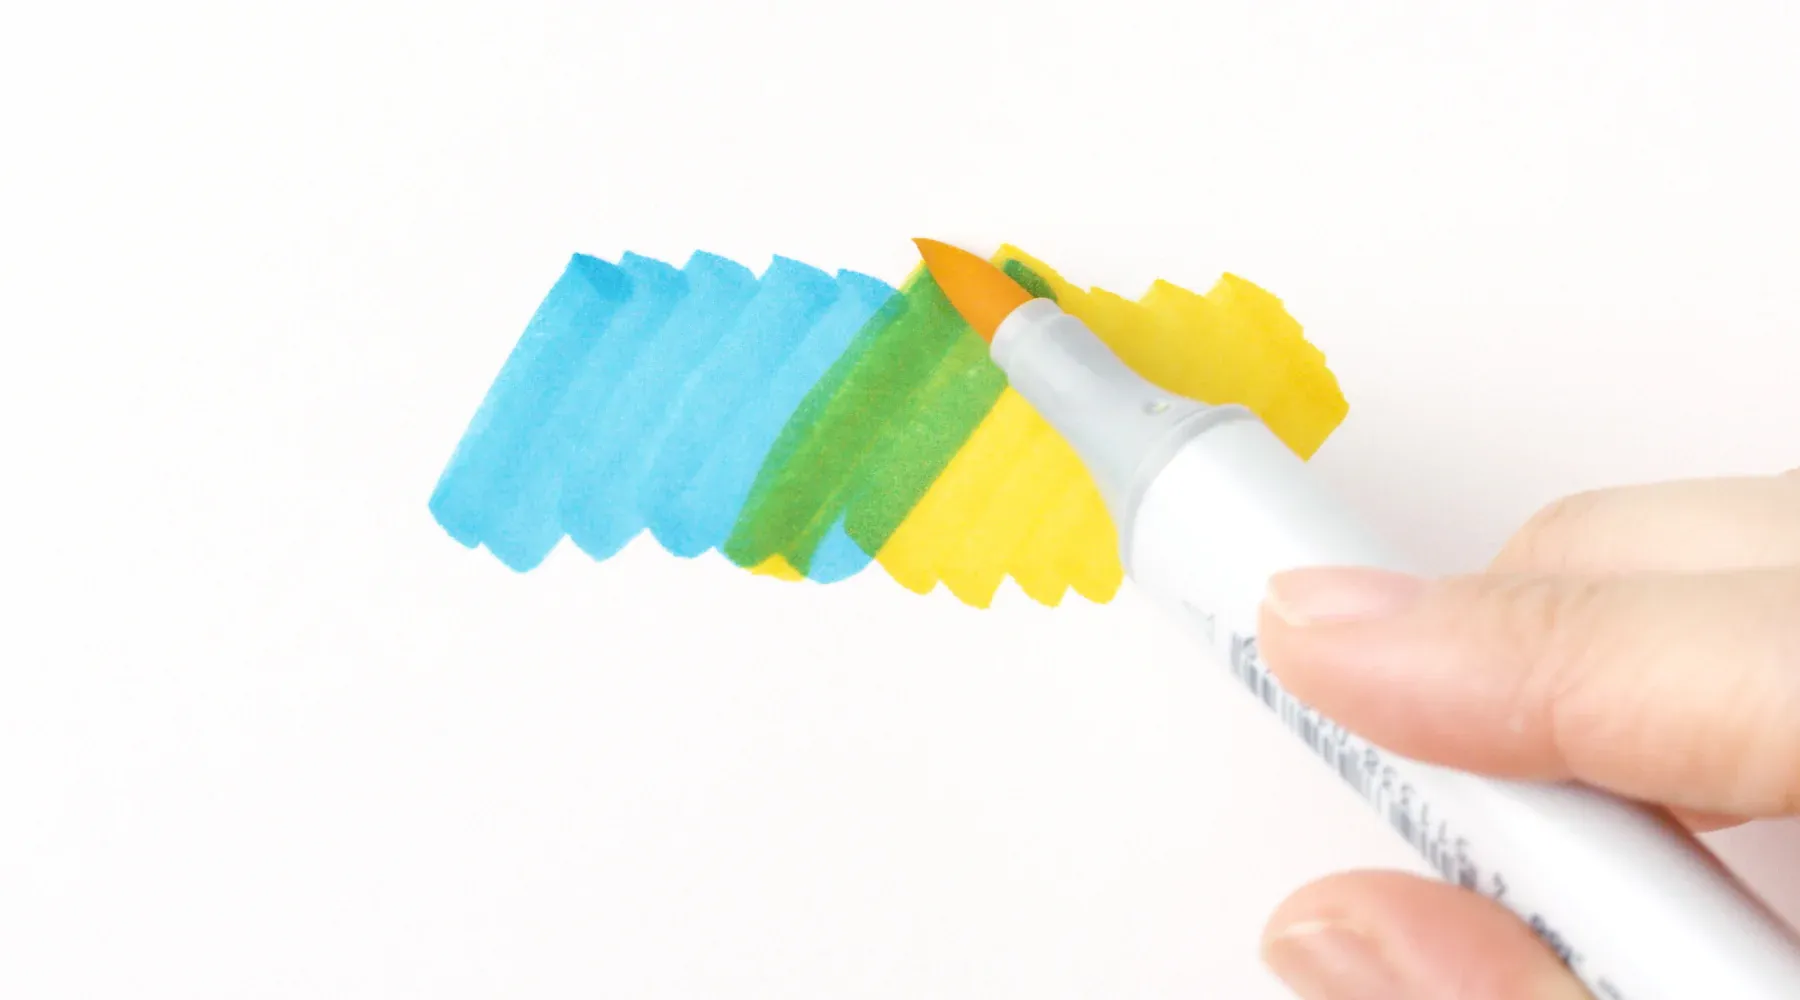
Marker Layering & Overlapping
Layering and overlapping are fundamental rainbow coloring techniques when using alcohol-based markers, and they form the cornerstone of smooth, professional-looking blends. Begin by selecting a harmonious color palette that follows the natural rainbow sequence, red, orange, yellow, green, blue, indigo, violet. Apply each base color using light, even strokes, making sure the edges of one hue overlap slightly with the next to encourage pigment interaction. For best results, use the side of the marker tip to cover broader areas, which helps avoid streaking and ensures uniform application.
After the initial application, return with the preceding color to blend back into the overlapped section, repeating the process as needed for a seamless transition. This back-and-forth motion builds depth and saturates the mid-tones, giving your rainbow a glowing gradient. It's especially effective on smooth, marker-friendly paper like Bristol board or coated cardstock, which helps prevent feathering. Among all rainbow coloring techniques, marker layering stands out for its control, vibrancy, and ability to deliver clean, polished results with even the most basic toolset.
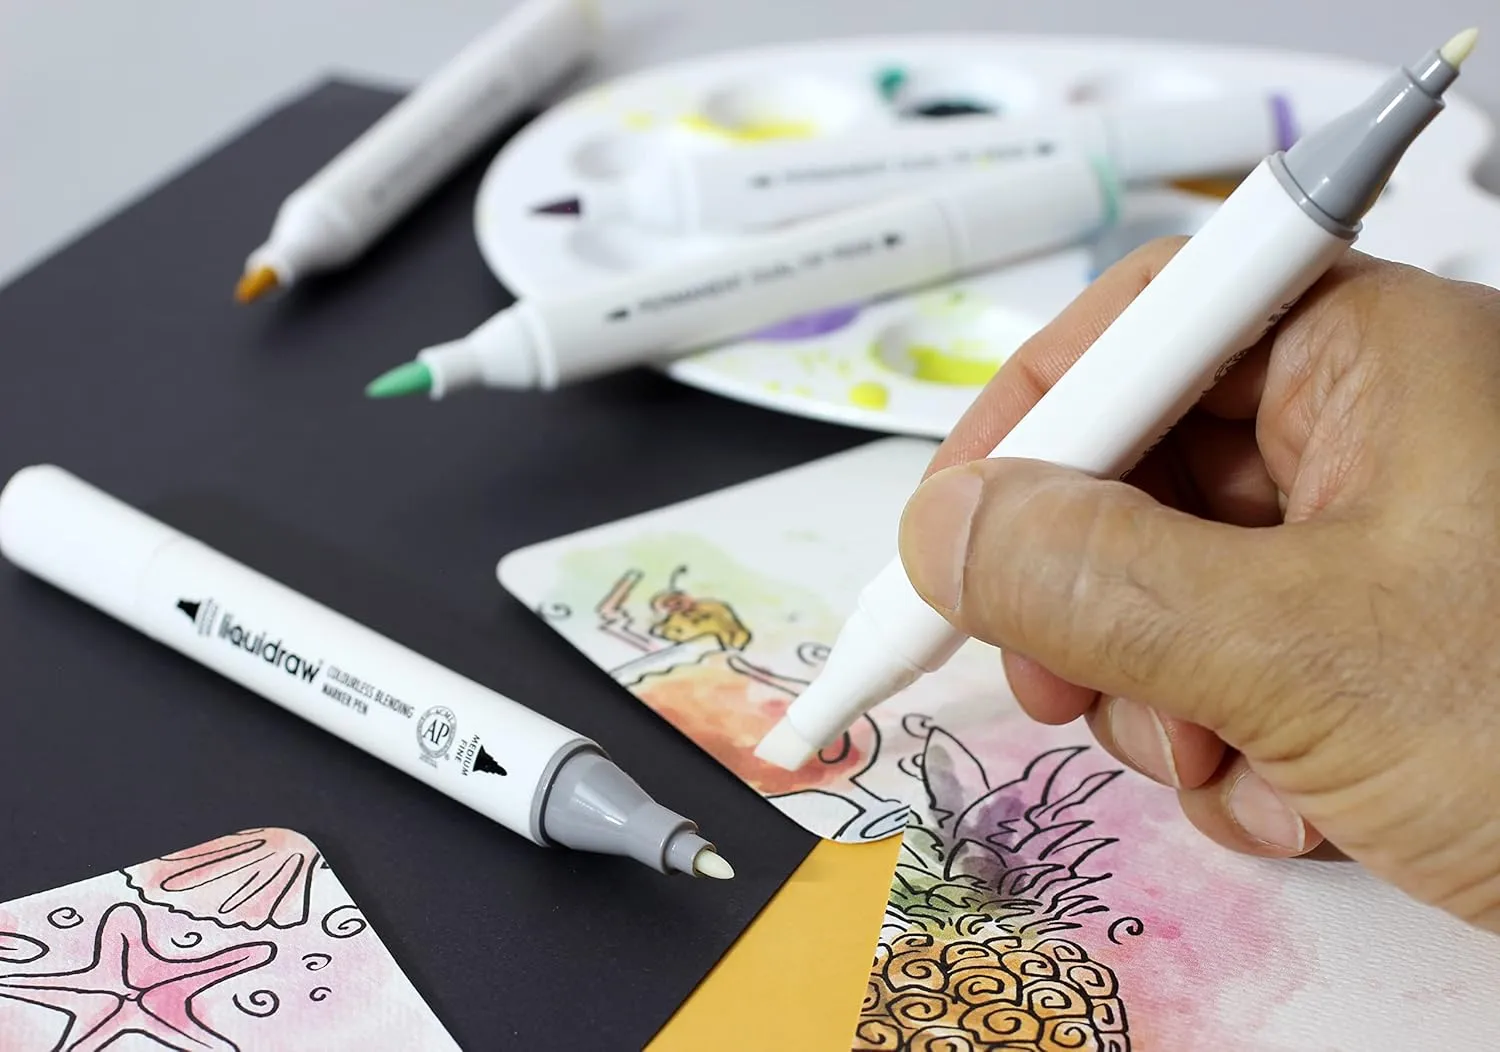
Colorless Blender Marker
One of the most essential rainbow coloring techniques involves the use of a colorless blender marker, a tool specifically designed to manipulate ink without adding new pigment. To use it effectively, start by laying down your rainbow hues in overlapping strokes. Once the base colors are set, gently apply the blender marker across the borders of each shade, working in small, circular motions. This action reactivates and redistributes the existing ink, allowing the edges to melt into one another for a fluid, natural gradient.
Colorless blenders work best with alcohol or water-based markers and are especially useful in detailed areas that require clean precision. They help fix harsh transitions, blur unwanted lines, and even lighten overly saturated zones. Because they don't introduce new color, these markers are also ideal for correcting minor coloring mistakes or softening edges without disrupting the overall harmony. As part of your rainbow coloring techniques toolkit, the colorless blender marker offers unmatched finesse and control for anyone seeking smooth, professional-grade results.
Marker Blending with Brush or Solvent
Using a paintbrush dipped in solvent is another advanced yet accessible option in the list of rainbow coloring techniques, offering enhanced fluidity and blending control. Start by applying your rainbow colors with markers or watercolor pencils, focusing on creating overlapping borders between each hue to facilitate smooth transitions. Use a synthetic brush, ideally with soft bristles, and dip it lightly into a blending solvent such as isopropyl alcohol or a commercial blending solution. Gently stroke the brush over the junctions of adjacent colors in small circular or feathering motions.
This technique mimics the delicate flow of watercolor painting but retains the precision of marker or pencil mediums. The solvent breaks down the ink or pigment, allowing for effortless merging and gradient shifts across your rainbow bands. Artists often use this method to achieve a painterly, almost ethereal effect that elevates their illustrations beyond flat color fills. This approach is perfect for creating atmospheric effects, background transitions, or detailed art with maximum versatility, making it a beloved choice in the realm of rainbow coloring techniques.
RELATED POST:
=>>> Top 20 Coloring Books for Adults: Unwind with These Creative Picks
=>>> Top 20 Coloring Books for Beginners: A Detailed Guide to Start Your Coloring Journey
Layering Pencils Over Markers
A mixed-media approach among rainbow coloring techniques involves first coloring a base layer with markers, followed by detailing with colored pencils. Start by applying rainbow hues with alcohol markers, keeping transitions light. Once dry, go over key sections with colored pencils to add texture and deepen saturation.
This method combines the smoothness of markers with the precision of pencils. It’s particularly useful for adding highlights, shadows, or intricate designs within the rainbow. Layering adds richness and visual interest that can’t be achieved with a single medium. This hybrid approach ensures your rainbow coloring techniques stand out with flair.
Pastel or Chalk Washes
Soft pastels and chalks offer a dreamlike quality among rainbow coloring techniques. Begin by rubbing pastel sticks onto scrap paper and picking up the pigment with a cotton ball or brush. Gently apply across your drawing surface, layering rainbow colors one after the other and blending as you go.
This technique is ideal for backgrounds or full-page color washes. The chalk’s soft texture creates a muted yet magical rainbow effect. Fixative sprays can be applied afterward to preserve your work and prevent smudging. Among the more atmospheric rainbow coloring techniques, this one shines for its gentle gradients and airy feel.

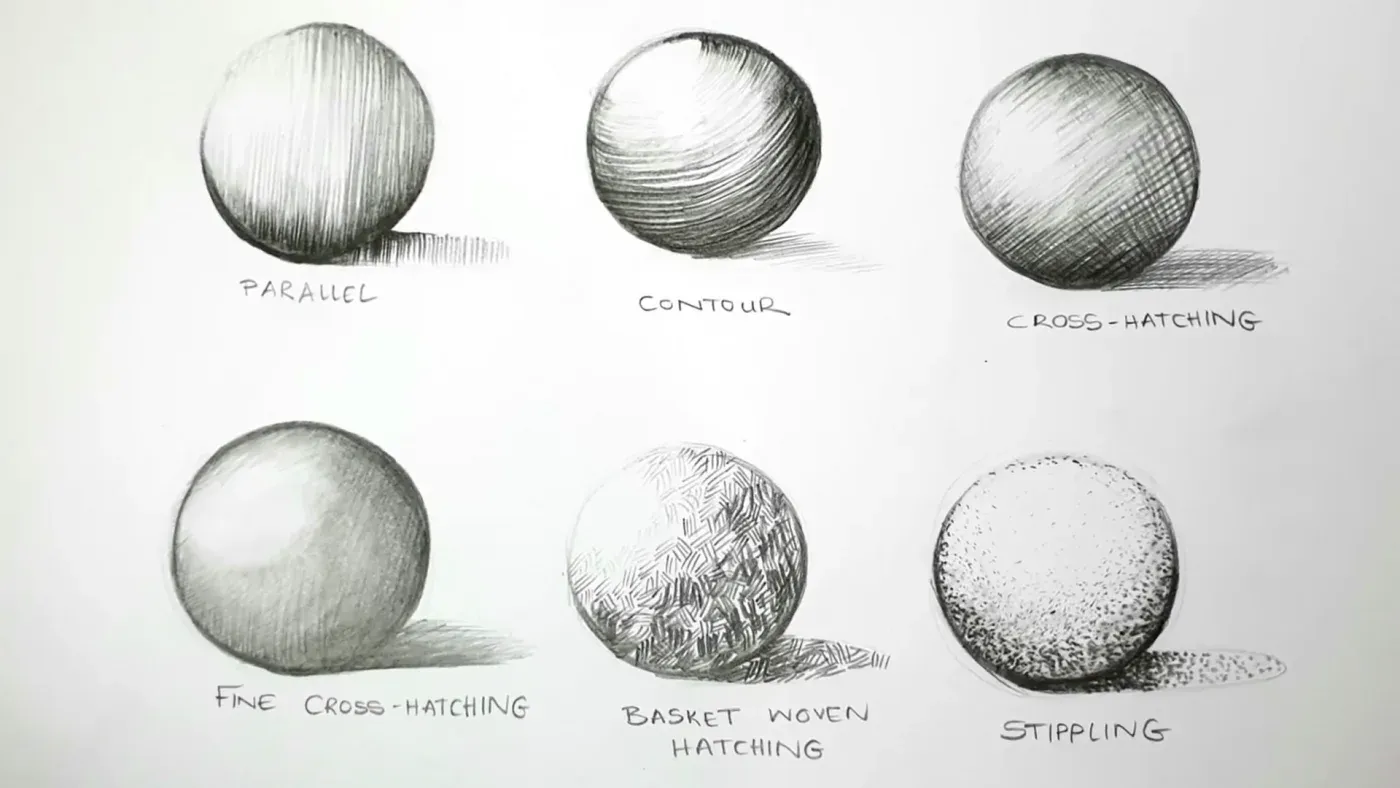
Texture Techniques: Cross-Hatching & Stippling
For artists who prefer texture and tactile expression, cross-hatching and stippling are valuable rainbow coloring techniques that offer endless creative flexibility. Begin by outlining your base rainbow layout using markers, colored pencils, or even watercolor pencils for a soft underlayer. Once your base colors are in place, take a fine-tip pen, mechanical pencil, or ultra-fine marker to begin the detailing process. Use cross-hatching by drawing overlapping lines at various angles, or stippling by applying clusters of small dots, to create dimension and a visual blend where the rainbow colors meet.
These techniques are especially effective in stylized or abstract coloring projects, where conventional smooth blending isn't the primary goal. The density and spacing of the lines or dots determine how intense or subtle the blending appears, allowing for precise control over shading and depth. Texture not only enhances the visual energy of a piece but can also mimic natural effects such as light reflection or atmospheric haze. As one of the more expressive and hands-on rainbow coloring techniques, cross-hatching and stippling invite the artist's unique style to shine through with every carefully placed mark.
FAQs
Which medium blends easiest for smooth transitions?
Alcohol-based markers generally offer the smoothest transitions among all mediums used in rainbow coloring techniques. Their ability to layer, overlap, and blend using colorless markers or solvents makes them highly versatile. Colored pencils and crayons can also blend well, especially when paired with blending agents like baby oil. Soft pastels are another good option for gentle, seamless transitions.
How can I preserve color vibrancy over time?
To maintain the brilliance of your rainbow coloring techniques, always use high-quality, lightfast materials. Spraying a fixative over pastel or chalk-based work helps prevent fading. For marker and pencil art, consider using UV-resistant storage and acid-free paper. Proper sealing and handling can ensure your rainbow creations remain vivid for years.
Which techniques are best for children vs. adults?
Children benefit from simple rainbow coloring techniques like crayon blending with tissue or pastel washes due to ease of use and low mess. Adults or advanced colorists may enjoy techniques like solvent blending, marker layering, or mixed media with pencils over markers. Each level has suitable options for both creativity and skill development.
Conclusion
Rainbow coloring techniques open up endless creative possibilities for artists of all levels. From simple crayon smudging to advanced solvent blends, each method offers a unique path to stunning, vibrant artwork. Whether you're crafting a whimsical design or a professional illustration, mastering a few of these techniques will ensure eye-catching results. With practice and experimentation, you’ll find the perfect combination to make your rainbows truly shine.


Original
100% hand-drawn, no stock images. Every design is uniquely crafted for a truly authentic experience.

Easy
Designed for effortless coloring with smooth lines and clear layouts—perfect for beginners and pros alike.
Creative
Transform every page into your own masterpiece. Add details, mix colors, and let your imagination run free.

Unique
No two books are the same. Each one offers a fresh, inspiring journey tailored to your creativity.
Blogs

Blog Posts
Let’s dive into the colorful world of coloring!We’ll share some fun típ to help you create amazing works of art